
LARGE FORMAT PORCELAIN WALL TILE INSTALLATION GUIDE
Large-format wall tiles are for those who desire a minimalistic look with more tiles and fewer grout lines. Porcelain tile is an excellent material for any space. They are hard-wearing, easy to clean and maintain, have aesthetic designs, and last for years.
The process of large-format porcelain wall tiles installation is similar to the installation of large-format porcelain floor tiles but might require an extra hand, caution, and additional tools.
This post will guide you with the equipment and materials and assist you with the large-format wall tile installation process. Also, show you some common mistakes you must avoid with extra tips on installing wall tiles like a pro!
Required Equipment & Material
Professional wall tile installation is the key to making your space look stunning, and your wall tile lasts for years. This is about using the correct installation tools, material, right size tiles, suitable grout, and cleaning tiles properly after initial tile installation.
Here are the tools and materials required for your large-format wall tile installation project!
| Tools/Equipments | Materials |
|---|---|
|
|
10 Steps To Install Large-Format Porcelain Wall Tiles:
In this article, we aim to provide the necessary information for trouble-free wall tile installation. So follow the instructions and tips below to ensure the beauty of your wall tiles for years to come.
01. Surface Preparation
Whether it's floor or walls, to fit the tile perfectly, you require a flat surface. The wall surface you are tiling on should be appropriately prepared before laying the large format porcelain tile. It should be clean, suitably level, dry, and dust-free.
You won't be able to lay off extra large tiles on walls if your surface isn't flat enough or has deflection.
So, how to create a flat wall surface?
Before tiling or levelling, the surface should be treated to reduce the porosity or minimise chemical reactions with cement-based adhesive.
Plastering walls is one of the best ways to ensure a flat surface. Despite its simplicity, plastering a wall can be challenging at first. We recommend getting professional help, or you can watch youtube tutorials to learn.
02. Determine The Layout
Large format porcelain tiles available in varied sizes, colours, designs and patterns can be used anywhere. Since large-format wall tiles are heavier and harder than standard wall tiles, a proper layout plan is required for your “forever home tiles.”
Take your time creating the right layout plan. Start from the centre and draw your layout line to install tiles.
How to create the most effective wall layout?
- Begin with choosing the most visible wall in the room.
- Use a tape measure to confirm the centre point on the wall. (measuring horizontally & vertically)
- Extend the level from the centre point using a laser level and create vertical and horizontal lines from ceiling to floor and from side to side.
- Use a pencil to mark the layout lines of large format tiles, indicating the appropriate placement of each tile and grout thickness.
03. Mixing Adhesive
Once you are done with planning the layout, it's time to prepare adhesive for your wall installation project. Remember, there are different types of mortar and adhesive, so choose the right one for your project!
The mortar mix for large format tiles has a strong bond, resistant to sagging and reduces the chances for lippage.
Reminder:
Please read the instructions carefully while using mortar mix and mixing paddle.
04. Cutting Tiles
Handling the large format tile requires two people. We recommend using a powerful suction cup to lift and place tile on the workspace for cutting or drilling.
Cutting the large format tiles have a few options:
- Manual tile cutters are widely used for cutting tiles, straight or angle cutting for various tiles.
- A Wet saw is used for cutting tiles in straight lines.
- Diamond tile blade provides accurate cutting tiles with minimal chipped.
Reminder:
The most important thing is to take safety measures. Wear protective glasses and safety
headphones to protect your eyes and ears when cutting or drilling tiles.
05. Troweling The Adhesive On Walls
When installing large format tile, there are two types of trowels ½” * ½” square notch trowel & ¾” * ¾” round notch trowel. They will provide 80% or more coverage to prevent the motor from collapsing while settling the tiles.
How to apply adhesive on the wall?
- Start applying adhesive from the centre point and covering one quadrant at a time.
- Start spreading the adhesive on the wall using the flat side of the trowel.
- Use the notched side of the trowel to create ridges patterns. Hold the trowel at a 45-degree angle and cover the entire area so you can comfortably work for 30 minutes.
06. Back Buttering Tiles
Before settling tiles, we recommend you back butter the tiles for better grip on the wall. The adhesive application on the back side of large format tiles must have the same parallel direction of the adhesive on the wall.
07. Laying Tiles
With the help of the suction tool, lift the large-format tile and settle it into the adhesive. Press the tile against the wall and slide them down a little to ensure all the ridges entirely collapse.

From a traditional natural stone look to timeless terrazzo tiles, Lioli Ceramica has set standards for the tile industry. We are committed to delivering high-quality large-format porcelain tiles for floors, walls and countertops; with our exclusive tile collection proudly made in India.
08. Placing Tile Spacer
Even having a perfectly flat surface, lippage is still a concern for large-format porcelain wall tile installation. Lippage occurs when the adjacent edges of two tiles are not the same level (which means one tile edge is higher or lower than the other tile). The tile spacer is recommended to prevent lippage in large-size tiles.
Another tool to prevent lippage is a levelling system, which professionals mostly use and recommend. These systems are easy-to-use and help in creating a lippage-free installation.
09. Ensuring The Wall Tiles Level
Make the final inspection of all the tiles. Remove all space and clean excess adhesive from the grout line. Use the suction tool to adjust any joint difference between tiles. Let the adhesive dry for a day before applying grout to it.
10. Grouting And Sealing
Several types of grout can be used:-
- Sanded grout:- mostly used for joint gaps between ⅛” - ¾”.
- Unsanded grout:- has a joint gap ⅛”.
- Pre-mixed grout:- this is used for small works.
For large-format porcelain tile installation, most professional tile installers recommend sanded grout.
Grouting might seem simple and easy, but it’s quite a messy process. So after grouting, cleaning is so difficult.
Don’t forget to remove extra grout and let them dry for a couple of days. After the grout becomes harder and cures, apply the sealing (if it's mentioned in the grout package).
As you know, different types of porcelain tiles are available in the market. Most porcelain tiles don’t require sealing, therefore, require no effort to maintain a sleek appearance, but if you’re using polished porcelain, you might require sealing.
Reminder:-
Please read the instructions carefully, and while applying grout, wear gloves to protect
your hands from the chemicals.
Common Mistakes To Avoid When Installing Large-Format Porcelain Wall Tile
There are various reasons to install large-format porcelain tiles and many DIY methods to install large tiles on walls. Here are some common mistakes you should avoid during the wall tile installation process.
Unlevel Wall Surface
Tiling on uneven wall surfaces can result in disaster. An unlevel wall surface can prevent the adhesive from sticking, and placing heavy and large tiles cause your entire wall installation to collapse.
Applying an extra layer of adhesive on the wall to compensate an uneven wall surface.
Improper Layout Planning(Not Planning For Doors And Windows)
Large tiles are great options for any room size. You can create various patterns, like bricks, cobblestones, basket waves and many more. Planning layout is essential before adhering to them to ensure you install them correctly.
Improper layout planning can create more lippage that can risk cracking and damaging the tiles. Sometimes, while planning the layout, people often forget the door and window space.
Avoid such disasters by planning the layout appropriately.
Using The Wrong Trowel Size
The trowel size must match the size of the tiles. Using the wrong trowel size can collapse the tiles from the wall substrate. For large format tiles, you need the adhesive to be deeper.
Cracking Or Damaging Tiles
Using tile-cutting tools, take some precautions not to break or crack tiles. Large-format porcelain tiles are heavy and hard compared to standard ceramic tiles.
Make sure you measure the tile and mark it with the wax pencil before cutting the tiles. Don’t rush the process of cutting tiles; the harder and larger the material you are cutting, the slower you need to be.
Applying Grout Too Early
As mentioned above, apply the grout after 24 hours or more settling tiles on the wall to dry. If you apply grout early, it will not spread properly and will seem unprofessional.
Extra Tips To Install Porcelain Wall Tile Like A Pro!
- Measure your wall into the square footage.
- Calculate the number of tiles required for your project.
- Buy an extra 10% more tiles in case of breakage and damage.
- If you plan to create unique wall patterns, buy 20-30% more tiles.
- Tiling walls can be messy, so it is wise to protect the floor by covering them with large paper or securing it with a painter’s tap.
- Once you finish grouting the tiles, don't let the excess grout dry because It will be harder to scrape off once it dries up.
Check Out An Exclusive Collection Of Large-Format Porcelain Wall Tiles - Lioli Ceramica
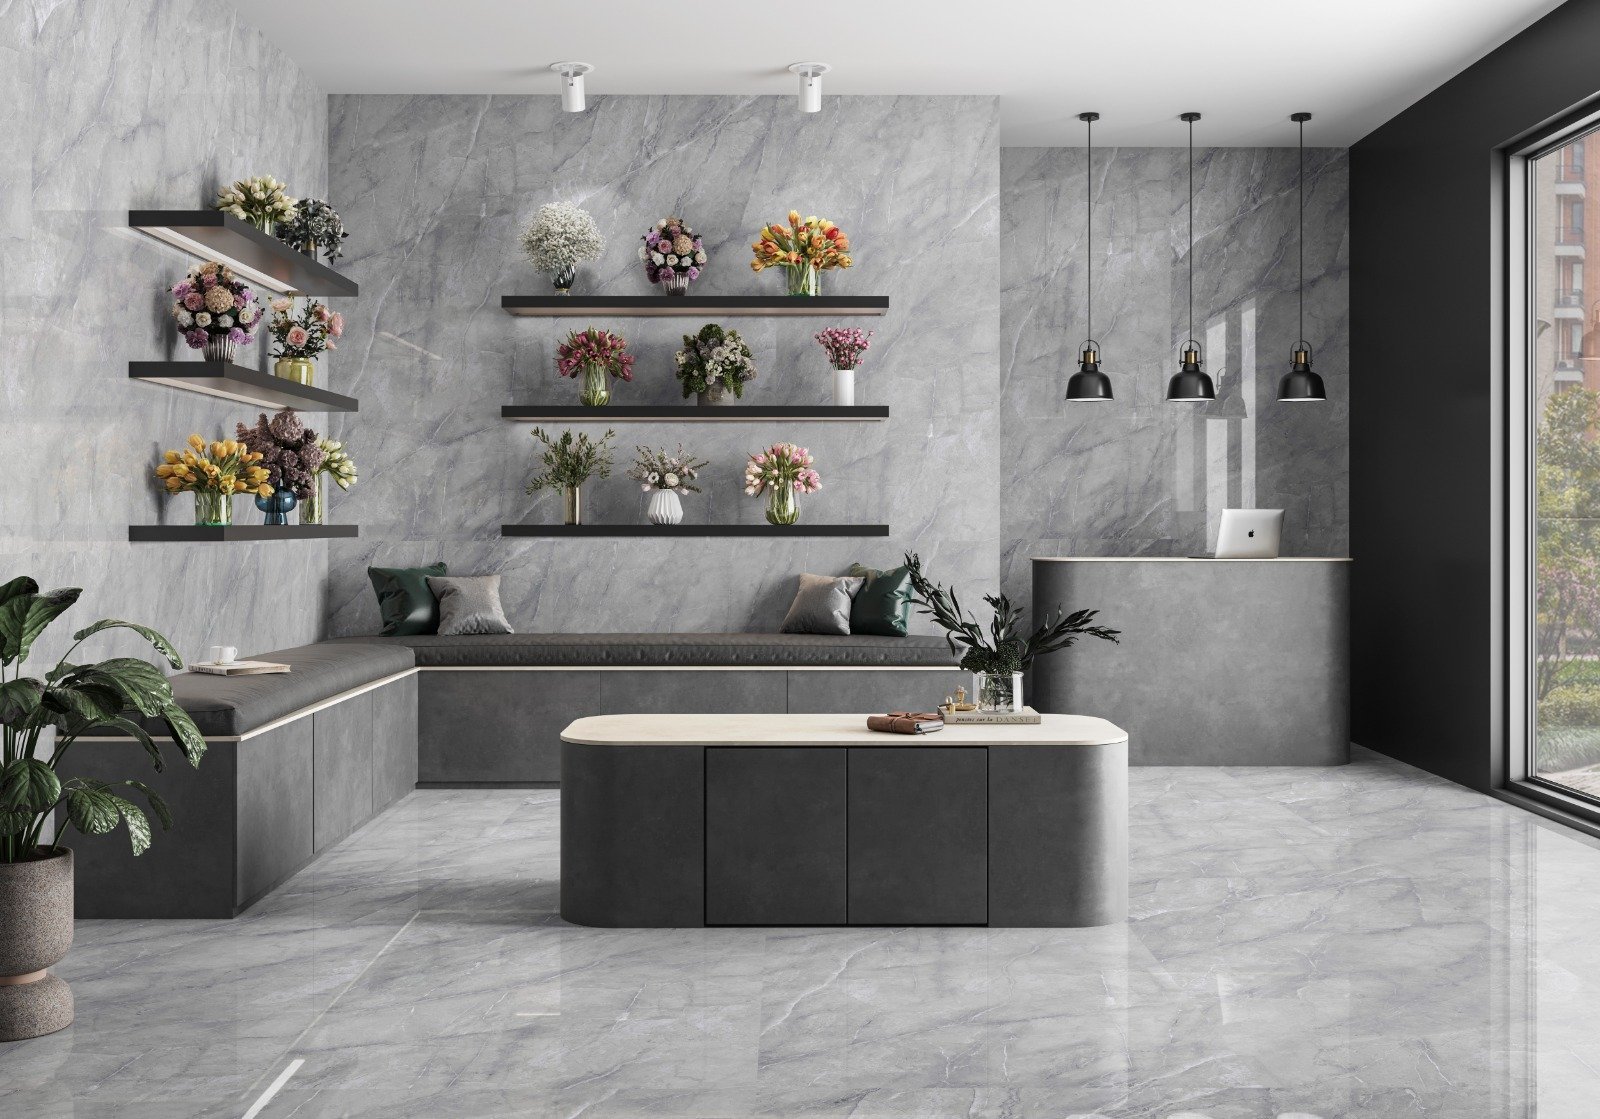
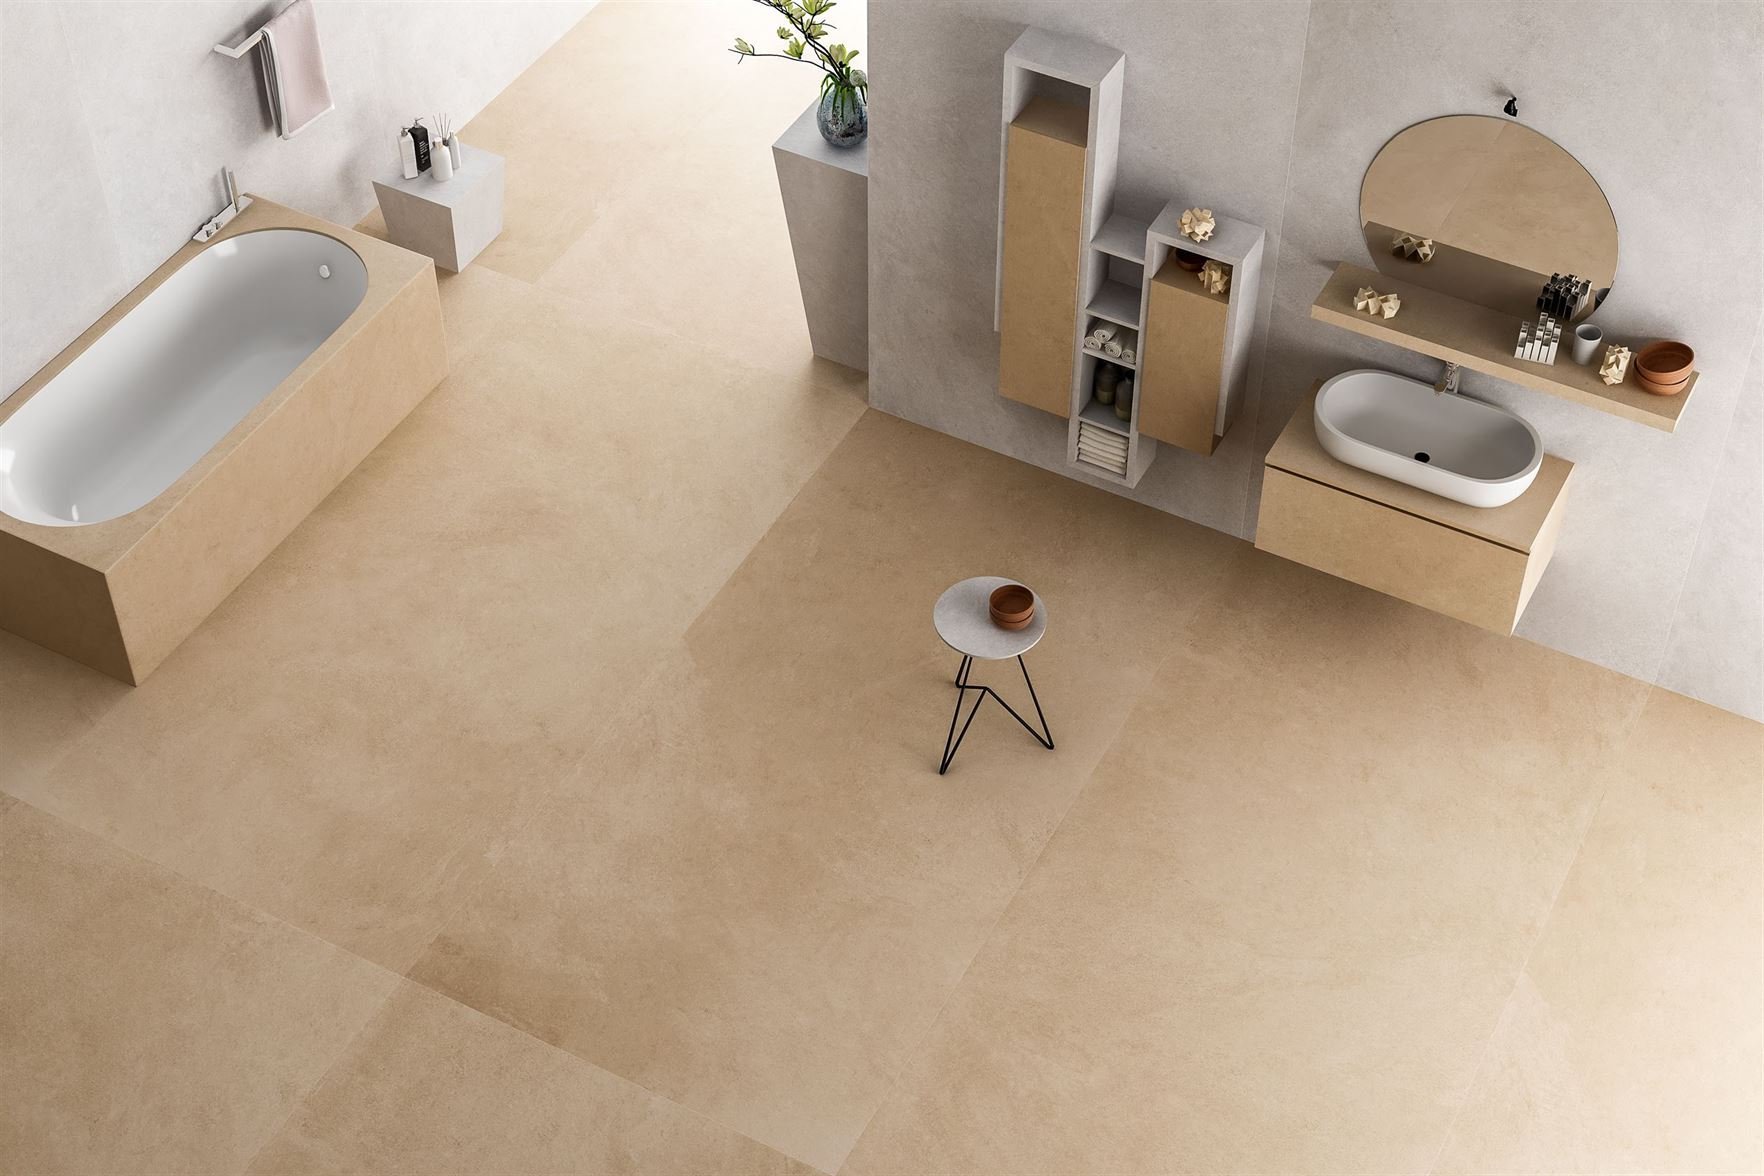
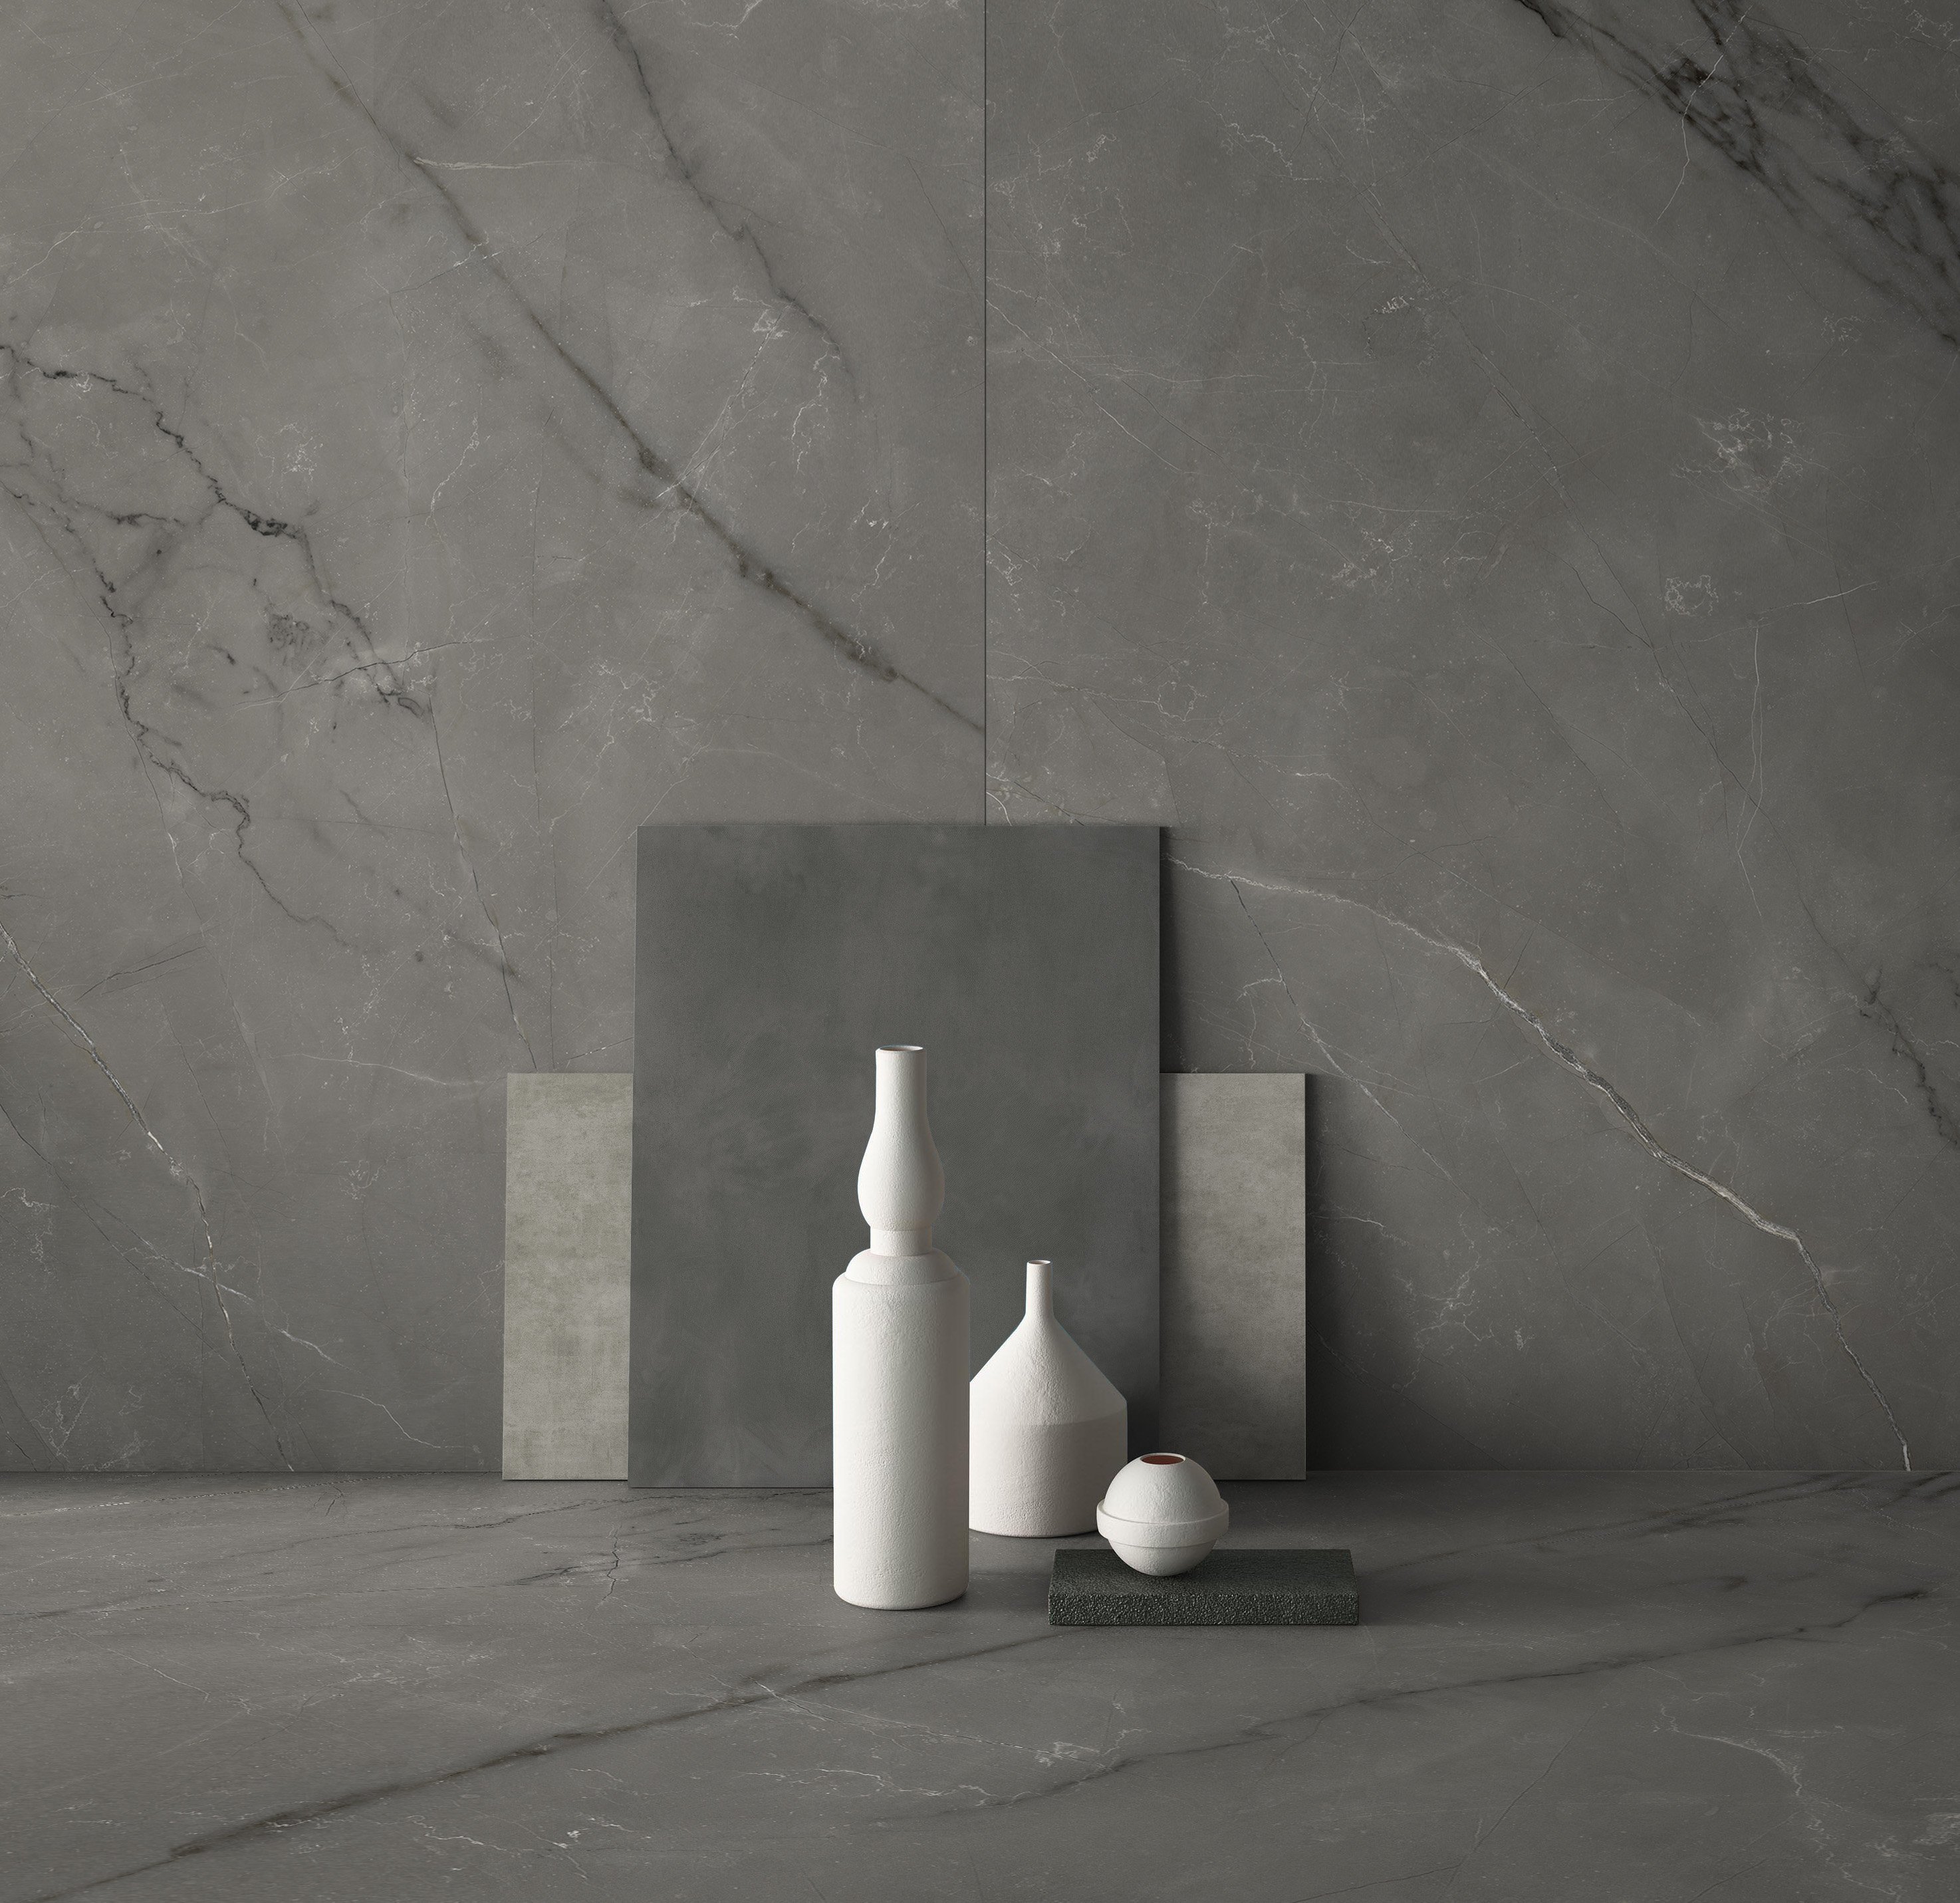
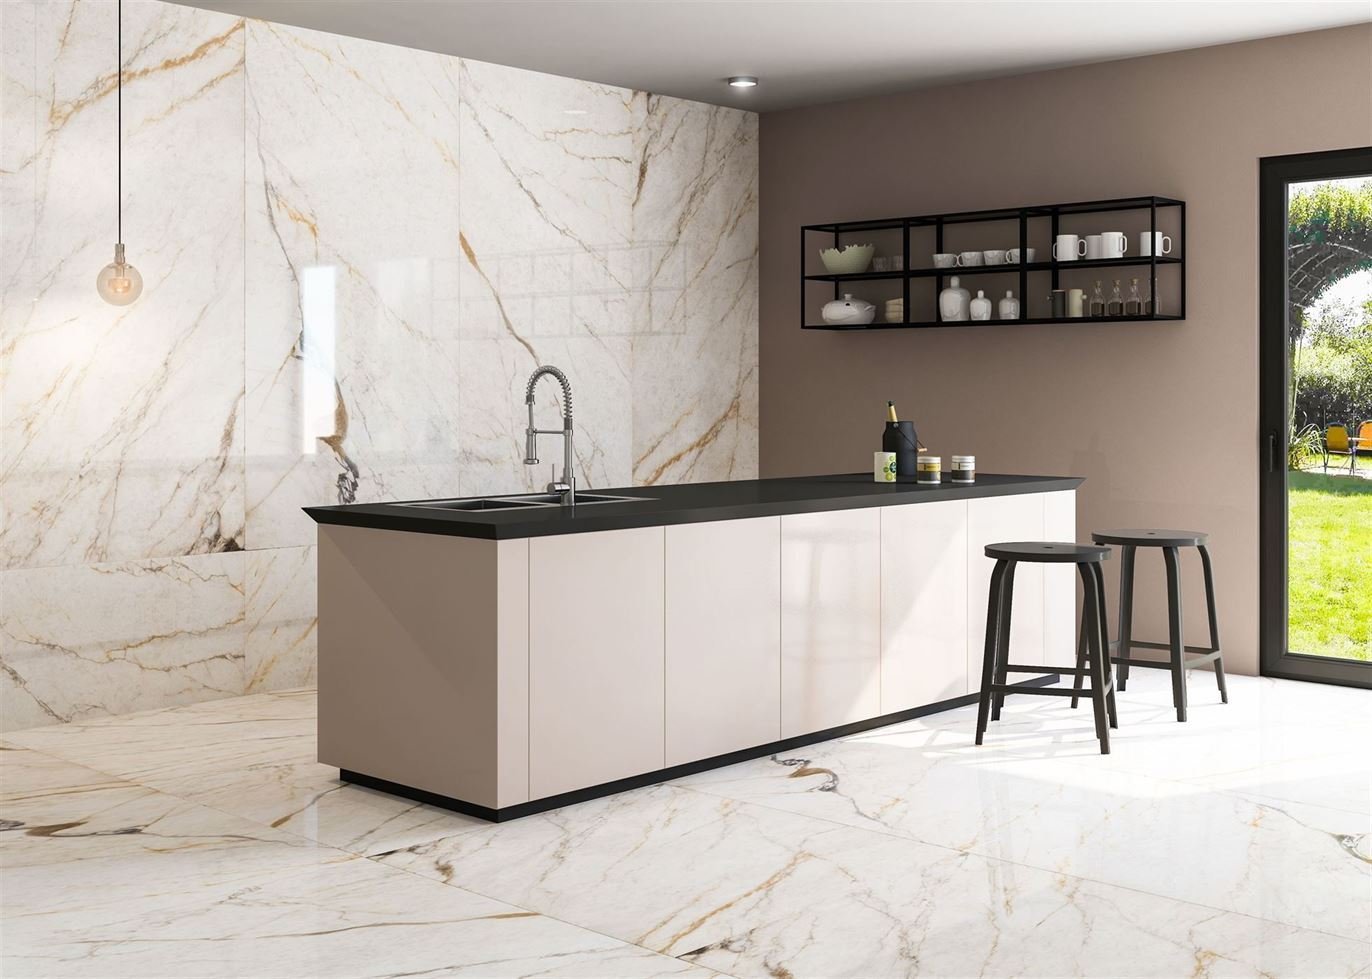
Large-format 1600 * 1600mm porcelain tiles are popular for aesthetic appeal and multi-use areas since fewer tiles mean fewer grout lines and reduced installation time. You can consider stone-effect porcelain tiles with lustrous and rustic matt finish adding luxury to your home. Hallways, dining areas, outdoor living rooms, kitchen and many more create seamless continuity.
Lioli Ceramica is a prominent large-format porcelain slab manufacturer, supplier and exporter in India. We have an exclusive collection of large porcelain slabs for floors and walls from structural matt to crystalline finish in varied sizes, colours, designs and patterns. Browse now!
Latest Blogs
How To Clean Porcelain Tiles
Porcelain is a highly durable flooring that doesn't need much maintenance and cleaning. Boasting the attributes of being scratch, stain, and water-resistant installing porcelain tiles provides an advantage over ...
Why Porcelain Tiles are Better Than Natural Stones.
Whether to renovate the bathroom or install new tiles in the lobby or laundry room, they spend a lot of time deciding between using natural stone or porcelain tiles...
Kitchen Countertops 2022 Design Inspirations
Do you want to change the look of your kitchen in 2022? Then start with the kitchen countertops, the heart of the kitchen. Obviously, if you are investing a hefty ...